


Buying a Vest for Patches: What to Check Before You Sew

Updated: 3 days ago
The first vest I ever sewed a back patch onto had a center back seam I never noticed on the rack. Twelve inches of patch went across it, the seam allowance underneath pulled unevenly, and the whole panel puckered into a shallow S that no amount of steaming took out. The vest was fine. The patch was fine. The combination was ruined, and there is no undo button once the holes are in the hide.
Disclosure: MotoGearRater and Legendary USA have the same owner. Links to legendaryusa.com in this article go to our owner’s store, and are marked as sponsored. How we make money
That is the thing riders underestimate about buying a vest for patches. You are not buying a garment, you are buying a canvas, and the canvas has to be measured before you commit. Once thread has been through leather the holes are permanent. Pull a patch off a year later and you get a faint outline of needle marks that catches light forever. So the checking happens in the store, on a tape measure, before any money changes hands.
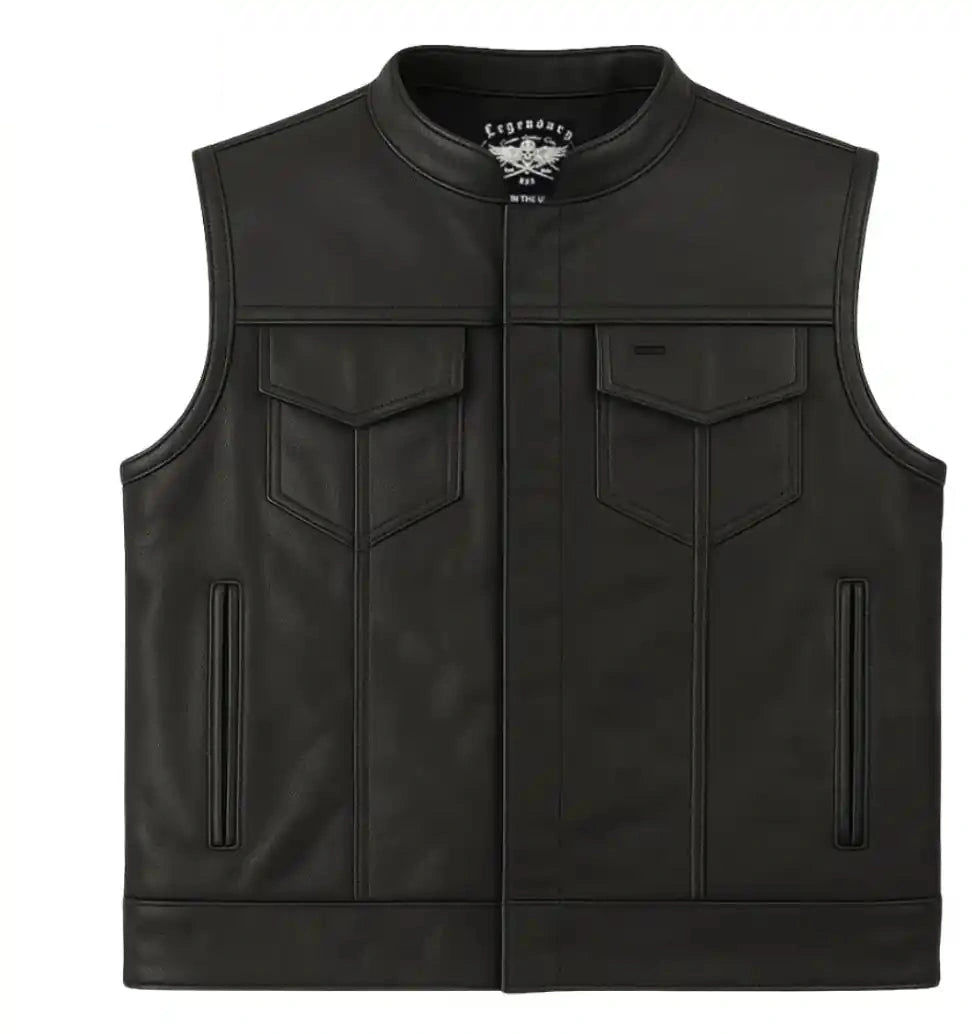
Measure the Back Panel, Not the Chest
Vests are sold by chest size. Patches live on the back panel. Those two numbers are related but not the same, and the relationship changes with the cut. A 44 in a fitted vest and a 44 in a boxy club cut can differ by three inches of usable back width, because the fitted one takes that width out at the side seams and the armholes.
What you want is the clear rectangle: the area of back panel with no seam, no pocket bag behind it, and no hardware. Measure from the bottom of the yoke seam down to the hem, and from armhole seam to armhole seam at the widest point. On a size large club-cut vest that clear area typically runs 15 to 17 inches wide and 18 to 21 inches tall. A standard center patch of 10 to 12 inches wide with a rocker above and below will fill most of that with about an inch of margin, which is what you want. Less than half an inch of margin and the patch edge starts riding on the seam.
Take the tape with you. Product photos flatten the panel and make every vest look like it has the same real estate, and published sizing rarely lists back panel dimensions at all. The Legendary vest size chart will get you to the right chest number, but the back panel still needs your own measurement.
Seams Decide More Than the Leather Does
Three seams matter. The center back seam is the one that kills projects. Some cuts join two back panels down the spine, which looks fine empty and fights every large patch. If a vest has one, your center patch has to sit entirely above or below it, and on most torsos there is not room for that.
The yoke seam across the upper back sets your ceiling. A high yoke leaves room for a top rocker. A low yoke, and some vintage-styled cuts drop it four inches below the collar, means your rocker either crosses the seam or has to sit uncomfortably close to it.
Side lacing is the friendly one. Laced sides give you two to three inches of adjustment after the fact, which matters more than people expect: if you gain or lose across the middle, a laced vest keeps the back panel flat and an unlaced one lets the patch bow. Flat is what you want. A bowed panel makes even a perfectly stitched patch look crooked from ten feet.
The Lining Nobody Thinks About
An unlined vest is the easiest thing to sew. You are going through one layer of hide, you can see both sides of your work, and if you use a machine the panel lies flat under the foot. The downside is that your stitching is visible on the inside and any mistake is on display when the vest hangs open.
A fully lined vest looks better and sews harder. To do it properly you open a section of the lining at the hem, work through the shell only, then close the lining back up. Sew straight through both layers and you have permanently locked the lining to the shell, which makes the back panel stiff and pulls the lining crooked over time. Quilted linings are the worst case, because the batting compresses under thread tension and you get a dimpled patch.
For hand sewing leather, use bonded nylon in size 69 or size 92 and a size 100/16 leather needle, and keep to eight to ten stitches per inch. Tighter than that perforates the hide into a tear line. If you are handing the job to a shop, ask which of the three lining approaches they use before you leave the vest with them.
What I Got Wrong
Beyond the seam disaster, my other mistake was buying too small. I bought a vest that fit perfectly over a t-shirt in July. Come October I wanted a flannel and a hoodie under it, the vest would not close, and the back panel stretched taut over the extra bulk in a way that distorted the patch. Vests for patches should be bought one layer generous, not snug.
The cheap fix, if you already own a vest that is close but tight, is a set of vest extenders. They add roughly two inches across the front closure for around $25 to $38 depending on the style, and they do not touch the back panel at all. That is the correct order of operations: fix the closure, leave the canvas alone.
The Pre-Sew Checklist
Run this before you buy, and again before the needle goes in. It takes four minutes and it has saved me twice.
No center back seam through the area your main patch will occupy.
Clear back panel measured with a tape, at least one inch of margin around every patch on all sides.
Yoke seam high enough that a top rocker clears it by an inch.
Lining checked: unlined, openable at the hem, or quilted. If quilted, expect dimpling.
Vest sized over the thickest layer you will actually wear under it, not over a t-shirt.
Patches laid out on the vest with painter's tape and looked at from ten feet, twice, on two different days.
Editor's Picks
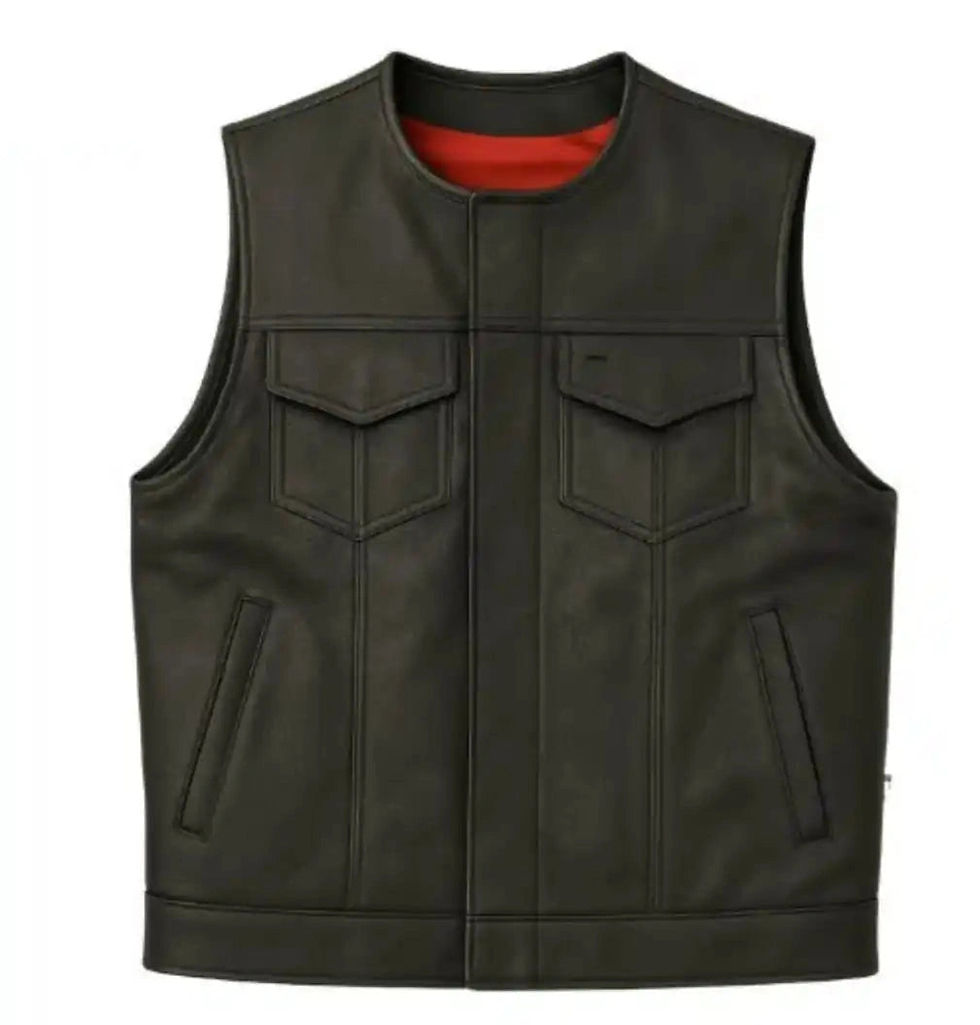
These are the cuts I would put a patch set on, chosen for back panel geometry rather than for looks. Say the obvious thing once: these are unarmored leather, not CE-certified, and they are wind and abrasion protection, not crash protection. If you want a wider set of options, the made in USA vest range has more cuts than the four below.
Legendary Men's Leather Club Motorcycle Vest, $179.99. The default. Clean single back panel, side lacing for adjustment, and the price point where you are not agonizing over committing it to a patch set.
Legendary Outlaw Men's Leather Motorcycle Vest, $239. Heavier hide and a longer body, which buys you vertical room. Pick this if your set includes both rockers and you are tall.
Legendary Brotherhood Men's Leather Vest, $329. The buy-once option in the Legendary line. Worth it only if you are certain about the patch layout, because at this price a mistake stings.
Legendary Revolution Men's Black Denim Vest, $65. The practice canvas. Denim takes thread easily, washes, and if you get the layout wrong you have lost sixty-five dollars instead of three hundred.
How to Decide
Fox Creek Leather deserves a straight mention here, because they publish hide weights plainly and their vests are American made at prices that sit right alongside these. If your single priority is thickest possible hide per dollar and you do not need styling variety, Fox Creek is a legitimate call and I would not argue with it. Where the Legendary range pulls ahead is the number of back panel geometries available, which is the thing that actually matters for this job. Prices verified August 2026.
My advice, plainly: if this is your first patch set, buy the denim vest at $65 and lay everything out on it first. Wear it for a month. You will discover that the rocker sits an inch too high or the center patch wanted to be lower, and you will have discovered it on a vest you can replace. Then buy the leather one and sew it once, correctly.
If you already know your layout because you have done this before, skip straight to the club vest or the Outlaw, measure the clear panel with a tape in your hands, and stop worrying about the hide. Every vest on this list has leather good enough for the job. What separates them is where the seams fall, and that is a question you answer in five minutes with a tape measure. For broader background on cuts and weights, the vest buying guide covers what a patch guide does not.


