Motorcycle Glove Maintenance Checklist: What to Do Every Season

Most riders don't think about glove maintenance until something goes wrong — a seam opens, leather cracks, or closures stop working. A seasonal maintenance routine catches these issues early and extends glove life significantly. This checklist covers everything you should do at the start of riding season and again before putting your gloves away for the winter.

Spring Start-of-Season Checklist
Run through each of these tasks when you pull your gloves out for the new riding season:
1. Visual inspection of all leather surfaces — look for cracking, thin spots, or areas where the leather has hardened. 2. Seam check — run your finger along every seam and look for any loose threads, gaps, or broken stitches. 3. Closure test — test the wrist closure (Velcro, snap, or zipper) to confirm it holds securely. 4. Lining inspection — feel the interior lining for tears, bunching, or significant wear. 5. Deep clean — wash the exterior with saddle soap and a damp cloth. 6. Conditioning — apply a leather conditioner and let it absorb fully. 7. Waterproofing treatment — apply a fresh coat of water repellent if needed. 8. Touchscreen zone test — if touchscreen-equipped, verify screen response is still reliable.
Mid-Season Monthly Tasks
Once a month during active riding season: Quick exterior wipe-down with a dry cloth after every few rides. Light conditioning if the leather looks dull or feels dry. Interior wipe with a barely damp cloth to control odor and sweat buildup. Brief seam check if you've put serious miles on that month.
After Rain Riding
Rain requires immediate attention. After any wet ride: Remove gloves and reshape them while still damp. Let air dry at room temperature — not near heat. Once fully dry, apply conditioner to restore moisture. Check all seams for any water-accelerated wear. This is especially important for perforated styles like the Legendary USA Short Wrist Ventilated Gloves (https://legendaryusa.com/products/legendary-mens-deerskin-short-wrist-ventilated-gloves) where water penetrates more readily.
Fall End-of-Season Checklist
Before storage for winter: Complete thorough cleaning of exterior. Clean interior lining with diluted vinegar if there's any odor. Apply a heavier conditioning coat — the leather will be in storage for months. Repair any stitching before storing so damage doesn't worsen over winter. Shape gloves with paper stuffing to hold form. Store in a breathable bag or box in a cool, dry location.
Tools and Products to Keep on Hand
A well-stocked rider's kit for glove maintenance includes: quality leather conditioner (mink oil, neatsfoot oil, or Leather Honey), saddle soap for cleaning, a water repellent spray, several clean microfiber cloths, waxed thread and a saddle needle for minor seam repairs, and silica gel packets for off-season storage.
When Maintenance Isn't Enough
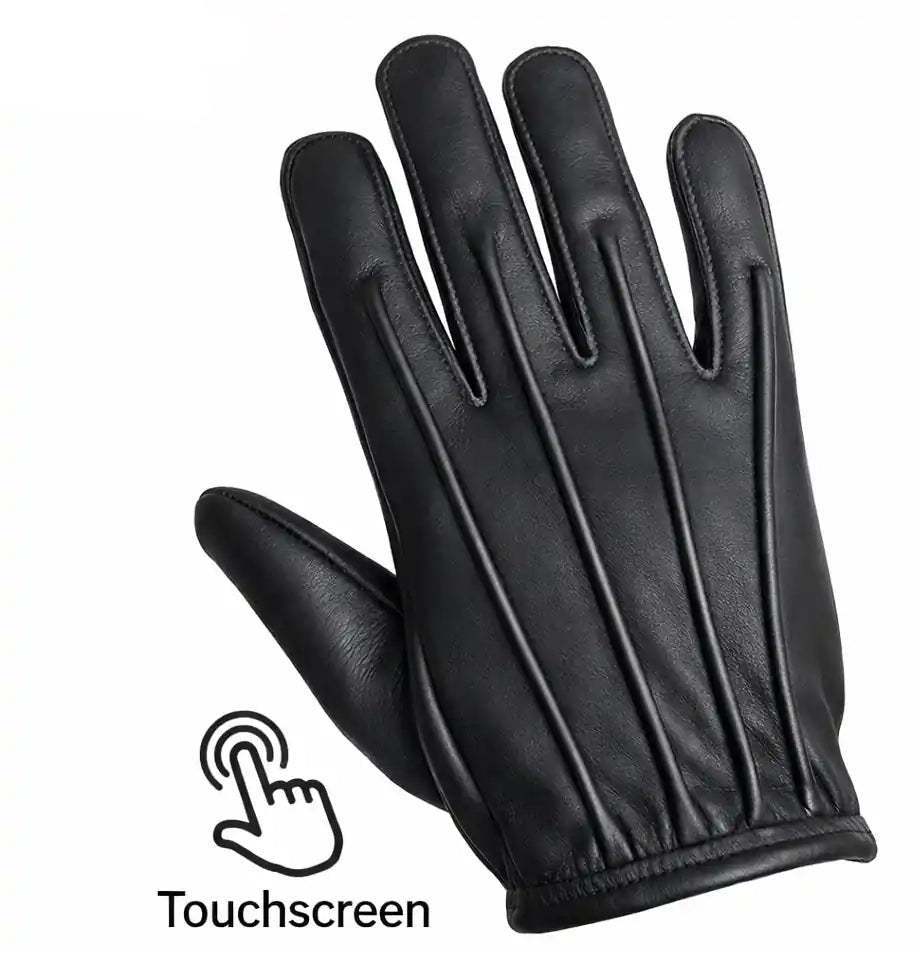
If your seasonal checklist reveals cracked leather, failed protection zones, or overall structural wear beyond what maintenance can fix, it's time to invest in a new pair. Browse the Legendary USA motorcycle gloves collection (https://legendaryusa.com/collections/motorcycle-gloves) for American-made deerskin options. The Aramid Lined Touchscreen model (https://legendaryusa.com/products/legendary-mens-deerskin-aramid-lined-short-wrist-touchscreen-gloves) is popular with riders who want modern protection built into traditional deerskin craftsmanship.
FAQ
Q: How often should I run through a full maintenance checklist? A: Twice per year — at the start and end of riding season. Add a monthly quick-check if you ride frequently.
Q: Can I use the same conditioner on all types of leather gloves? A: Most leather conditioners work on smooth leather varieties. Avoid products containing petroleum distillates on deerskin as they can over-soften the finer fiber structure.
Q: What's the most common maintenance mistake riders make? A: Skipping conditioning after cleaning. Any cleaning process removes some natural oils, and if you don't replace them, the leather dries out faster than normal.
Q: How do I know if stitching needs repair? A: Run your finger along each seam and tug lightly at the seam edge. Any gap, loose thread, or separation larger than 2mm should be addressed before the next ride.
Q: Should I condition new gloves before the first ride? A: It's optional but beneficial, especially for stiffer leathers. A light coat before the first ride can jumpstart the break-in process.